Surflare VPN Router
One Device, multiple networks, endless possibilities
Coming soon, expected to launch in June 2026
Buy now and get 6 months of free VPN subscription!
Get Started with Your Surflare Router
Step 1
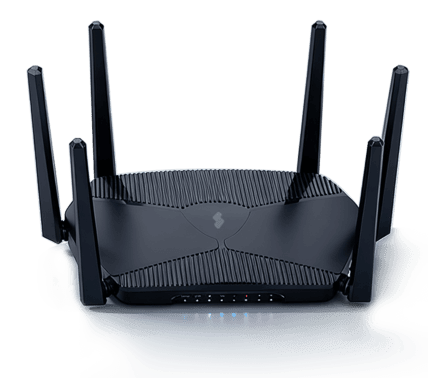
Purchase Surflare Router
Purchase a Surflare compatible router from our store or use a supported third-party router.
Go to router storeStep 2
Link Router to your account
Log in to your Surflare account via the App or Dashboard, and link your router by entering the MAC address printed on the router label.
Link your routerStep 3
Configure and Connect VPN
Configure your router settings, select a VPN node, and start enjoying secure internet access on all your devices.
Simple and Intuitive
Get set up in minutes and control your Surflare Router through an easy-to-use dashboard from your phone or computer.
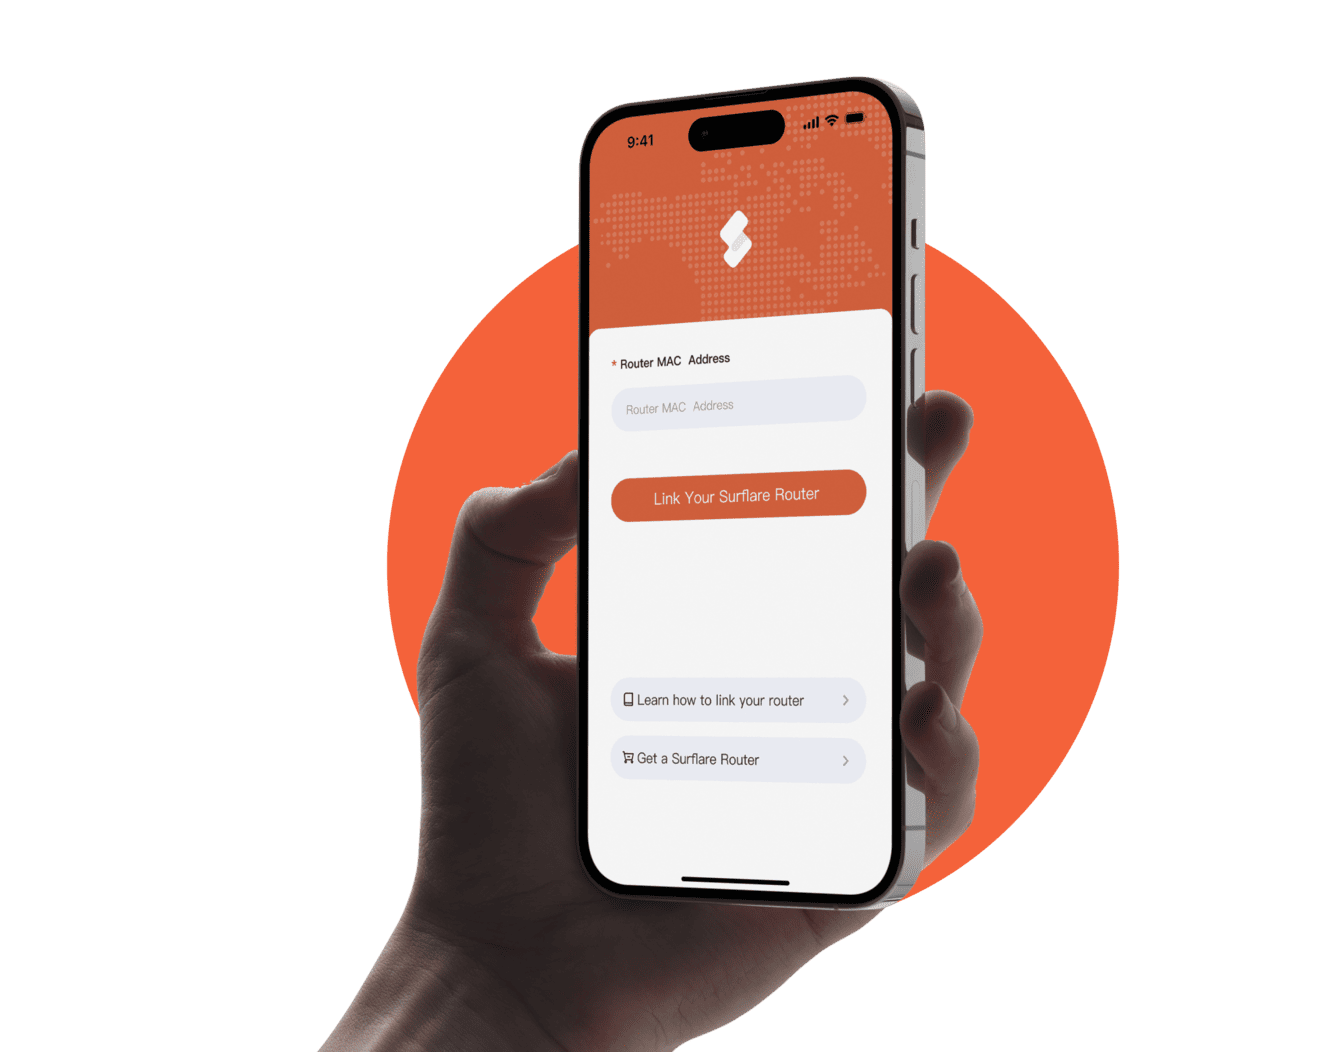
Link Router to Your Account
Find the MAC Address
Locate the MAC address printed on the label at the bottom of your router.
Log in and Link Router
Log in to your Surflare account via the App or Web Dashboard, navigate to the Router menu, and enter your router's MAC address to link it.
Wait about 1 minute for the device to go online. If it doesn't, check the router's internet connection and verify the MAC address.
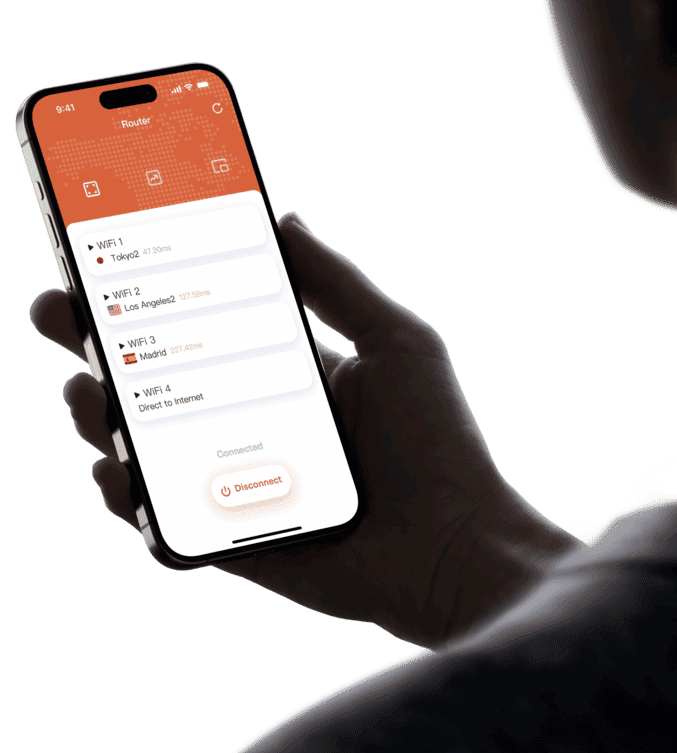
Manage Your Router
Once the router is online, you can access the router settings to configure WiFi networks, VPN connections, and more.
Connect VPN on Your Router
After linking your router, you can configure VPN connections for each Wi-Fi network.
Open Router VPN Management
Log in to the Surflare App or Web Dashboard, navigate to the Router section, and enter the VPN management page for your router.
View Available Wi-Fi Networks
You can use up to 4 Wi-Fi networks on your router. Each Wi-Fi network can be configured with its own VPN connection.
Select VPN Exit for Each Network
Choose a VPN server location for each Wi-Fi network. Different networks can connect to different VPN servers, allowing devices to access the internet through different IP addresses.
Start VPN Connection
After selecting the VPN servers, click the start button to enable VPN. All devices connected to that Wi-Fi network will now be protected by VPN.